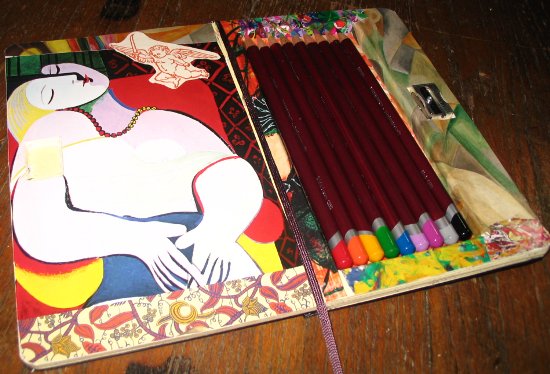
I came up with my own solution to the Moleskine pen holder problem. As a gift to my friend Bryan, I butchered a Moleskin to stealthily hold nine colored pencils and a pencil sharpener. I found several tutorials on embedding other devices in a Moleskin but found that I had made the same mistakes experiences by the other hackers.
First, I began by cutting out the pages that would make the bottom half of the case by placing the wooden board under the page and cutting along the plastic ruler. I cut these one at a time and ended up with a lot of variance from page to page. I then glued each sheet together with rubber cement. This took a very long time, painting the glue and letting it dry while the book was under constant pressure.
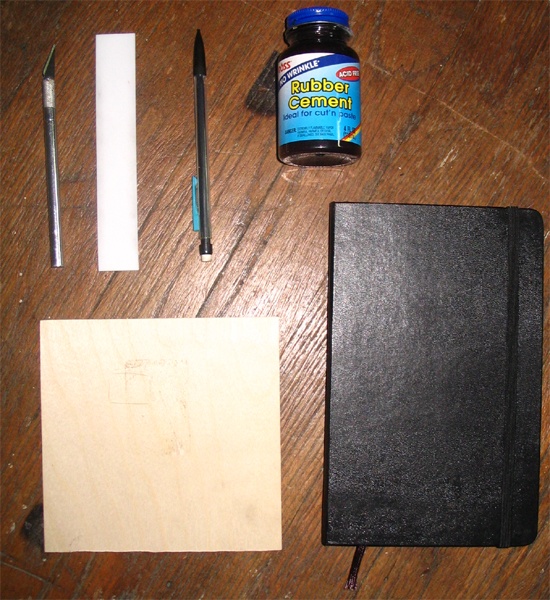
For the top, I realized that I could glue all of the pages together at once then cut out the section for the pencil sharpener in one big block. For this I used spray photo mount. I really love this stuff. It is probably the easiest adhesive to work with. It applies so thin that the pages lay on top of each other as if there is not any glue at all. Unlike the rubber cemented base, the top looked very clean and I wasn’t pulling ribbons of dried rubber cement out as I cut.
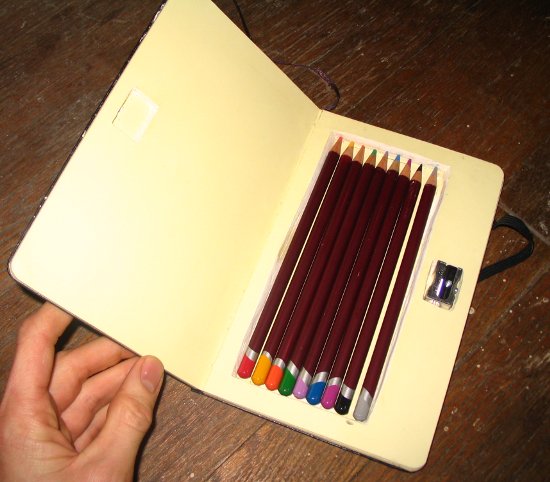
Finally after the two halves had completely dried, I touched up the bottom section, facing the inside with the X-acto knife. I felt that it still did not look very clean and decided to hide everything behind some magazine cutouts. I again used photo mount to adhere the magazine cutouts into the notebook.

I think it looks very professional overall. Next time I would definitely use photo mount for both sides, I would also glue all of the pages together and then cut out the insides.